Lighting a scene, step by step
How to light a scene in Arcwright: the whole mood in one step, the sun and the moon, lamps, glass, reflections in rooms, colour grades matched to a Nano Banana picture, and the checks that tell you the light is right.
apply_look, or the Mood & Time of Day card). 2. Place the sun or the moon. 3. Add lamps where real lamps would be. 4. Put a reflection capture in each room. 5. Grade the camera to match your Nano Banana target (color_grade match). 6. Check it with light_truth and view_channel.Step 1: the mood, in one step
A mood sets the sun's height and strength, the sky, the haze and the colour grade together, the way a lighting artist would. In Make mode, pick one of the mood cards. In Quick Tools (the button in Make mode, or the panel under the Inspector), use Mood & Time of Day (tick "Place the sun myself" to set the sun's height and direction). Or ask your AI: "make it golden hour".
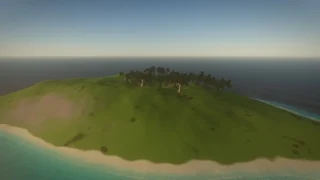
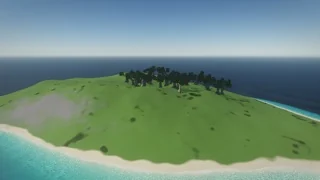
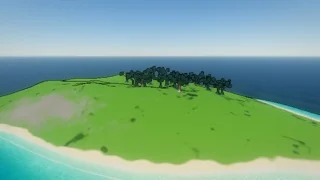
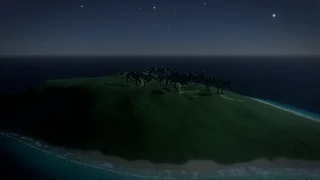
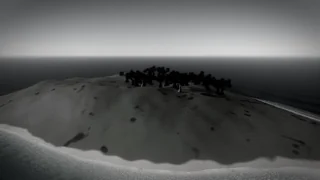
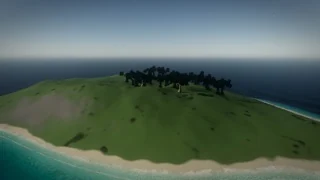
The full list in Quick Tools: golden hour, bright day, cinematic, overcast, night, storybook (cartoon), black and white noir, retro film, war-torn, underground, bodycam and neutral. Make mode also has a time of day slider (dawn, noon, dusk, night) and a weather slider (clear, cloudy, rain, storm, thunderstorm).
Afterwards, fine-tune the camera's look in the Inspector (the camera_look component): exposure, bloom, contrast, saturation, temperature, vignette, grain, haze, lens flare, lens dirt, halation, letterbox and more.
Step 2: the sun and the moon
The directional_light is the sun: its direction (azimuth and elevation), strength and colour. At night it also holds the moon (direction and phase), the stars and the glow of a city on the clouds. A common mistake is a "night" made with a blue sun still above the horizon: lighting spots it and tells you the fix.
Step 3: lamps
A point_light is a bulb or a fire; give it a cone and it's a spotlight (a flashlight, a headlight); give it a length and width and it's a tube or a panel. Put lamps where real lamps are. Never let a light float in the air: every night light belongs to a lamp, a window or a fire you can see.
- Many lamps:
many_lights(the idea behind Unreal's MegaLights) shades only the two lamps that matter most for each pixel, each with a ray-traced shadow, so a street full of lamps costs about the same as a few. Try it and measure it withframe_profile. - Rooms of still lamps: mark them
bakedand add alight_volume:bake_lightsworks the light out once with real shadows, and a room of many lamps runs like one with few.
Step 4: rooms, glass and reflections
- Reflections: put a
reflection_capturein each room at head height, sized to the room, so glossy tile, varnish and metal reflect the room's own lamps and window instead of the sky. - Glass:
glassmakes real glass on any see-through material: it bends and tints what's behind it, blurs by frost, reflects at grazing angles and tints the sunlight through it. Presets: window, old_window, rain_window, steamy, frosted, car_glass, bottle_clear, bottle_green, lens, prism, ice. Rain on glass is live: drops land, merge and run down. - Decals:
paint_decaladds grime, dust, chipped paint, cracks, scorch marks, signs and posters, lit like the surface they're on.
Step 5: match a Nano Banana picture
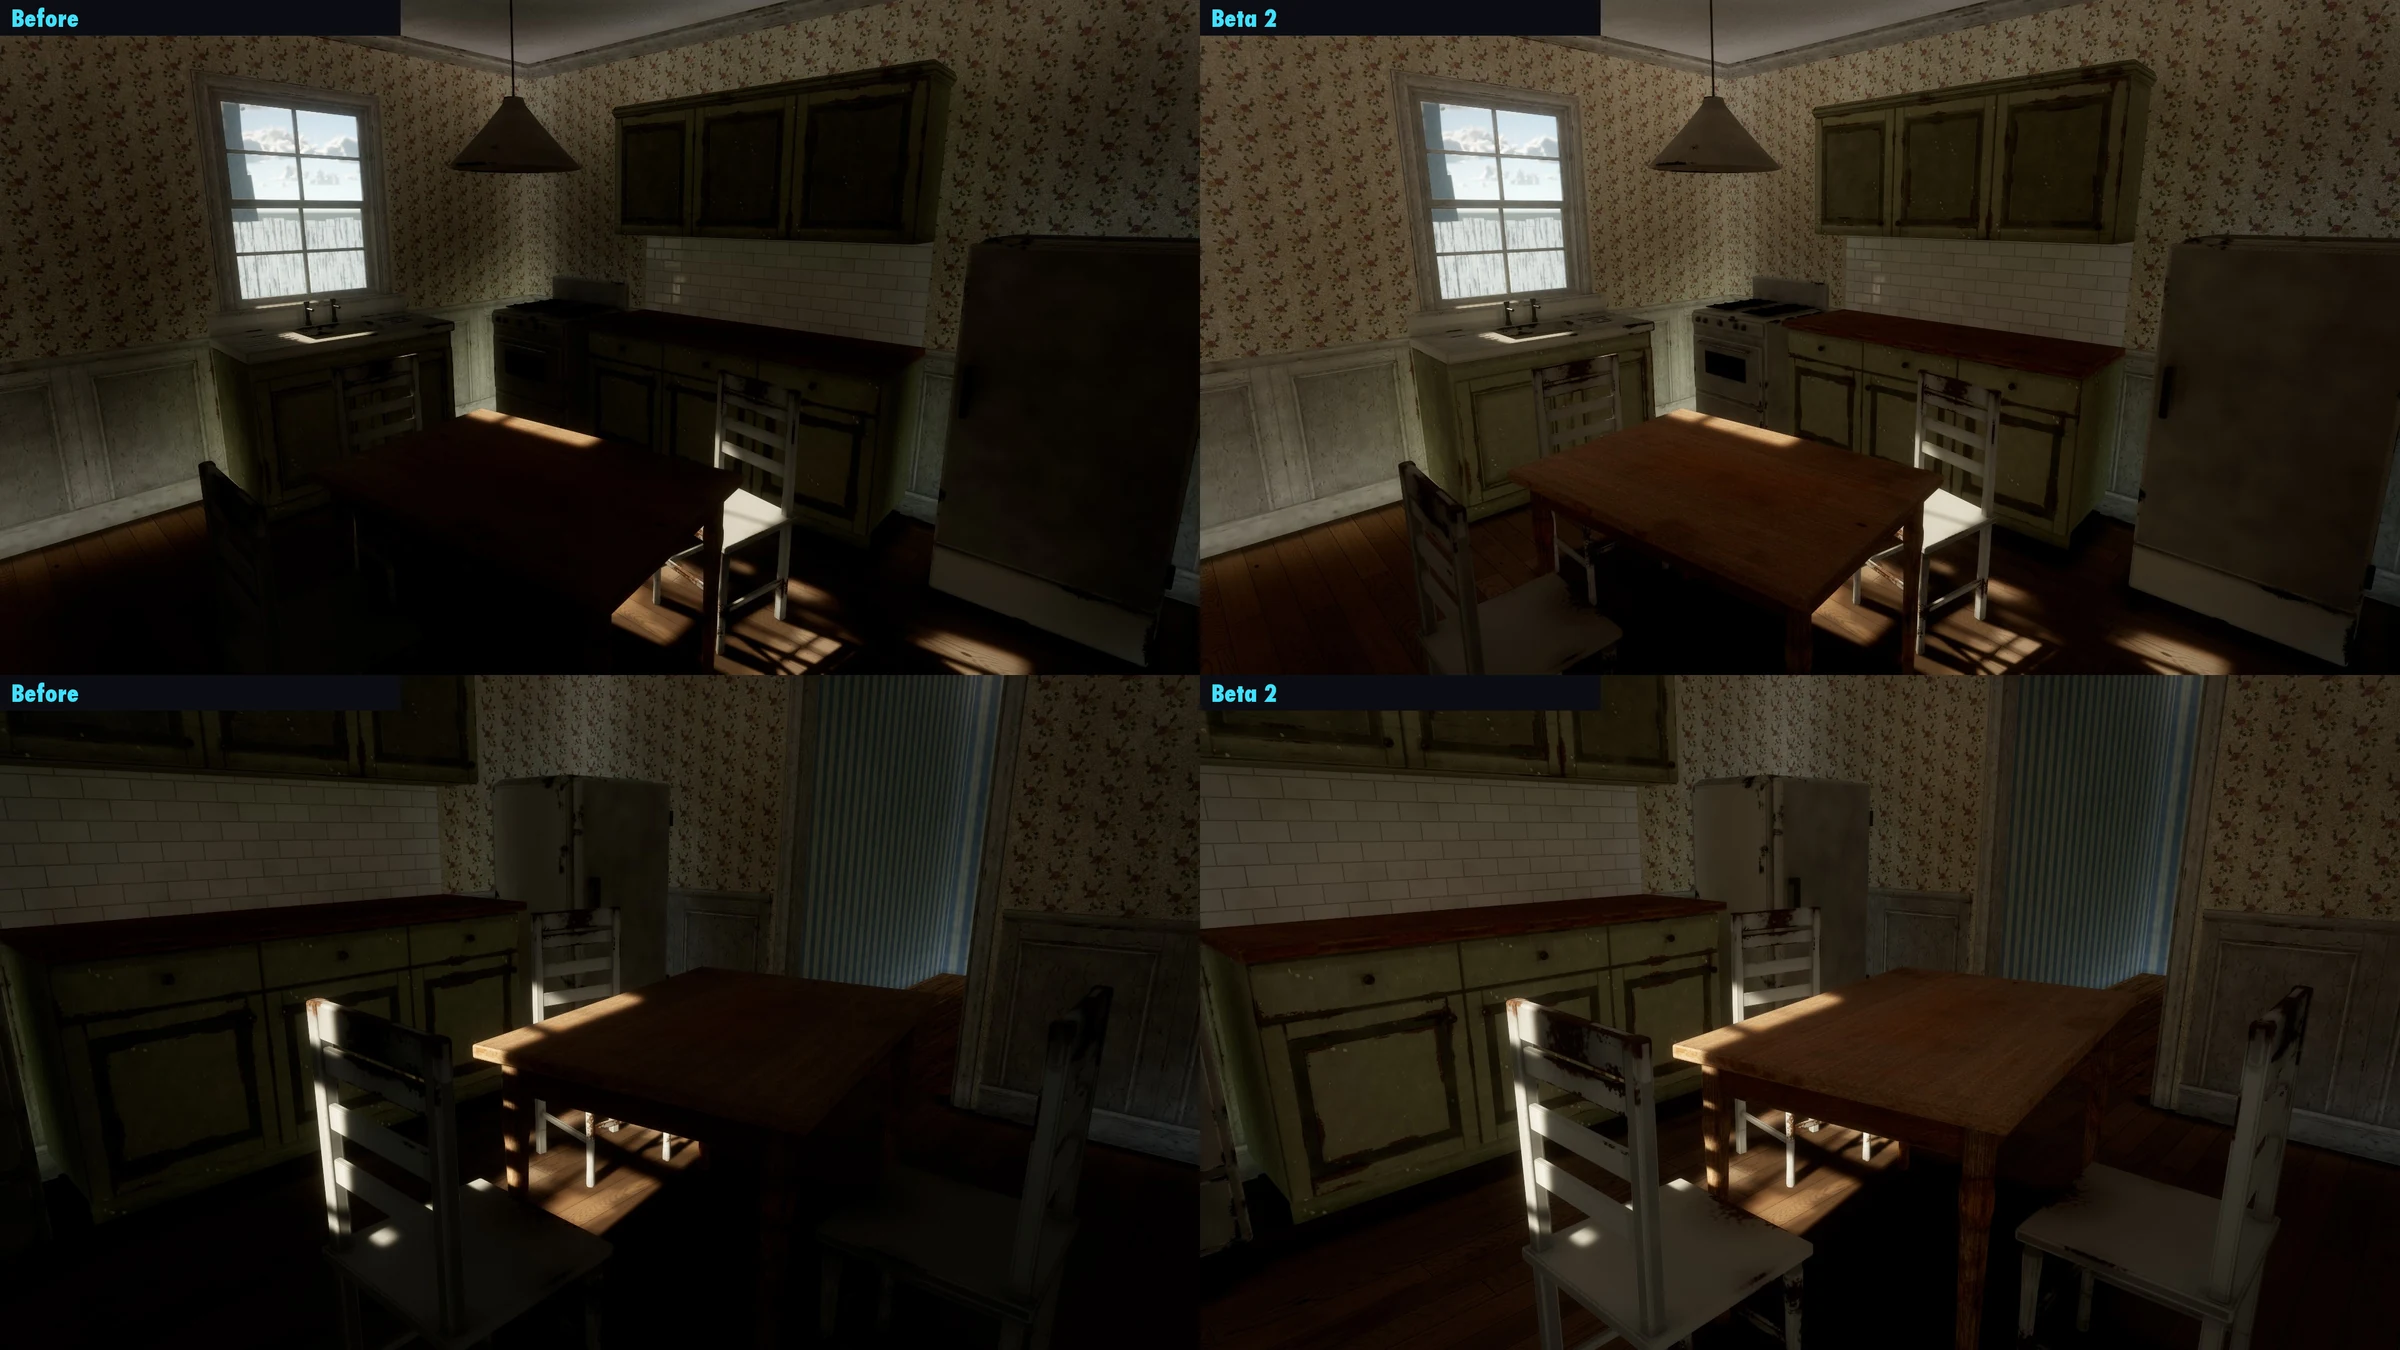
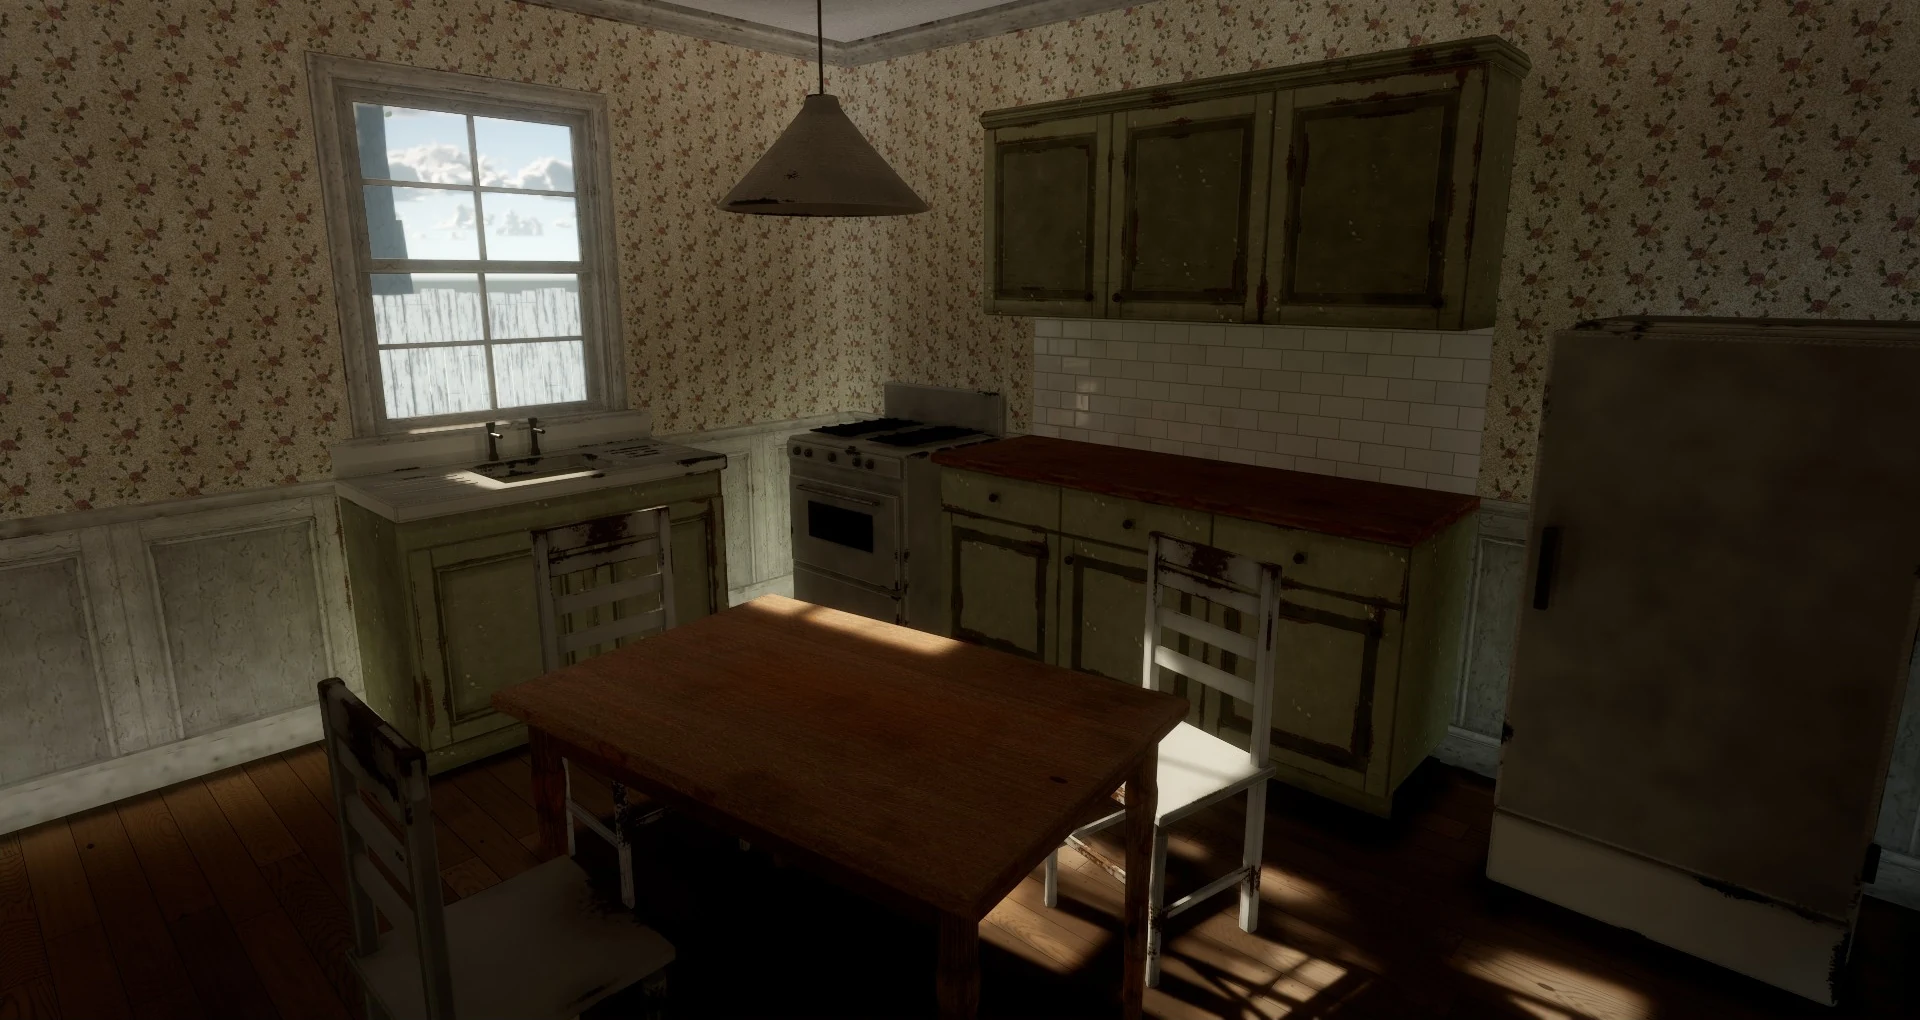
Take a screenshot of your scene and ask Nano Banana to "enhance this as a finished AAA game shot: keep the camera, the room and every object exactly the same, only make the light and the materials look real". That's your lighting target. Then:
- Look at where the light comes from in the picture: a low warm sun, a cool window, a lamp. Set yours the same way.
- Grade Match:
color_gradewithaction: matchand your picture as thereferencegrades the current view to look like it, and saves the grade as a.cubefile you can use anywhere. - For an area with its own feel (a cold cellar, a green-lit funhouse), a
grade_zoneblends its own grade in as the camera walks in.
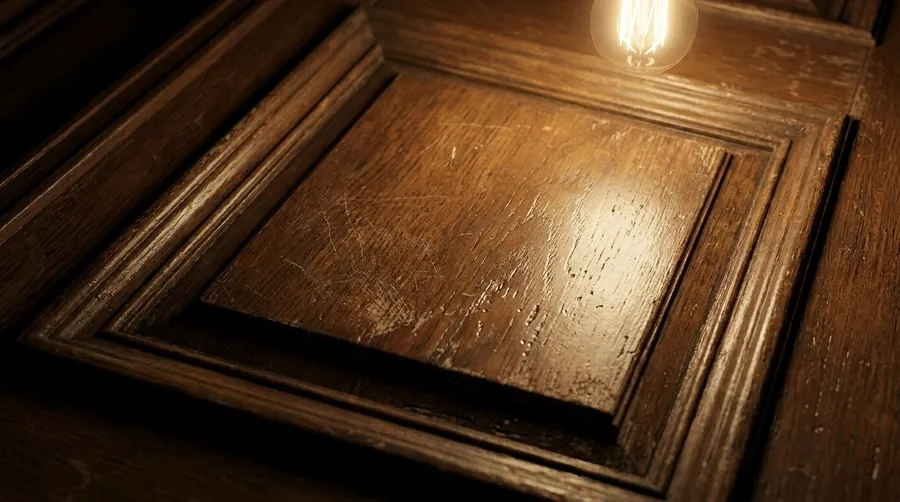
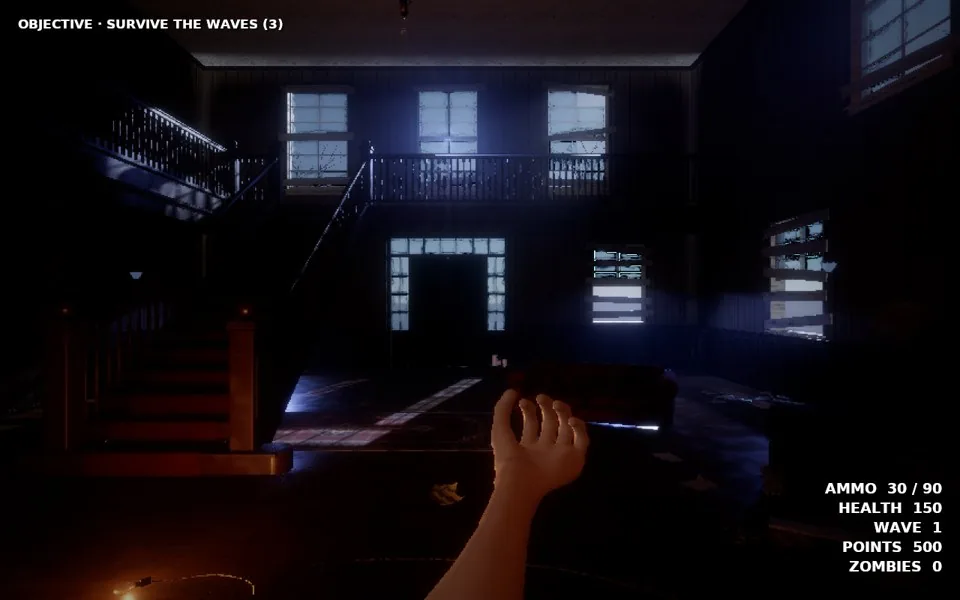
Built-in grades: film_print, bleach_bypass, teal_orange, cold_moonlight, sodium_vapor, sickly_green, vintage_fade, noir, horror_red. Or make your own with colour wheels (lift, gamma, gain, contrast, saturation, shadow and highlight tints).
Step 6: check the light
lightingreports how the bounced light, the night sky and the reflections are set, with fixes for common mistakes.light_truthchecks every window, bottle and lamp globe: does it look as see-through as the light it lets in? A pane that looks solid while full moonlight pours through it is flagged.view_channelshows one part of the picture at a time: shadows, bounced light, lighting only, materials, normals, base colour. When something looks wrong, this finds which part of the lighting it's in.lookreports blown-out or black parts of the frame and glare, without a screenshot.
More: Realism: wet floors, tube lights, decals, light shafts, glass, 2D lighting, Camera bodies, lenses and focus.